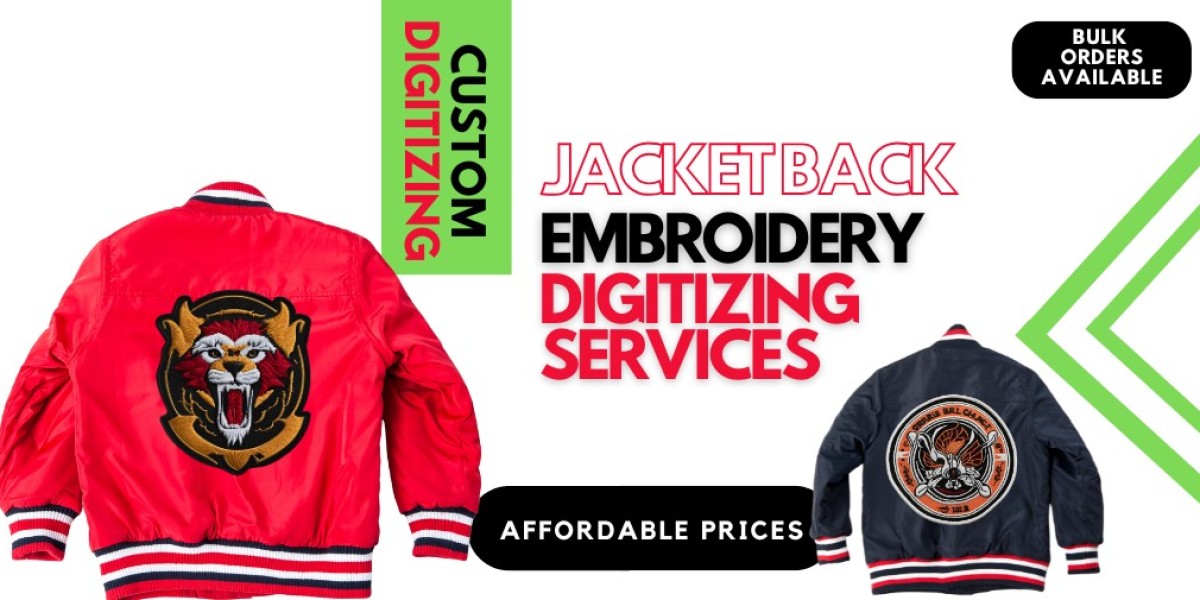
Introduction
Embroidery on jacket back digitizing is indeed a statement in bold and bright tones. It reinforces the idea that digitizing design for jacket backs should be done with precision should not have misaligned stitches or breakage of threads or yield low result designs. The precision in digitizing the jacket back can be achieved with the right stitch techniques and proper planning to create professional embroidery.
1. Start with a High-Quality Image
The design should have good clarity and detail for cleanness during embroidery operation. Low-resolution images create rough edges and bad quality effects on stitches. Using vector graphics or an image with a high resolution ensures that it can be incorporated into the design without losing the smooth professional embroidery aspect.
2. Use Appropriate Stitch Types for the Individual Elements
Different stitch types are necessary for keeping clarity and depth in jacket back embroidery. Satin stitches are great for stitching text and outlines, fill stitches fill up larger areas and running stitches give very fine detail without making much thickness in thread build. Hence, using the correct stitch types will prevent distortion and create a better overall appearance.
3. Optimizing Stitch Density Based on Fabric Superiority
The density with which stitches are done is determined by the fabric on which the jacket is done. Denims and leather require a packer with a lower stitch count to flex. A light fabric packer should be high to avoid gaps. The adjustments of stitches will vary according to the fabric to give clean and better sustainable embroidery.
4. Use Good Quality Threads and Stabilizers
It has also been known that the type of thread used plays a significant role in the durability of embroidery with respect to how they appear. One good example would be polyester threads that resist fading and are strong, whereas rayon thread gives a very shiny finish after the complete embroidery digitizing process. Beneficial during stitching because they support the fabric—tear-away with a stiff stabilizer, whereas cut-away is better with stretchy fabric.
5. Test Punch Before Final Production
A trial stitch on the sample fabric is meant to understand any potential troubles before full-on production. The test results might even call for adjustments in thread tension, density of stitch, or alignment. Thus, a test will assure that the jacket back digitizing designs are well perfected before production.
Conclusion
Digitizing a jacket back requires an intricate mixture of high-quality images, the right stitch techniques, and expert digitizing services. With these five steps, you can achieve an embroidery that is razor-sharp and durable yet looks remarkably professional.